
With all the salt, mud and grit on the road at this time of the year, your bike is at more risk of corroding. Let’s face it, no one wants to clean their bike after a long Sunday club run or their daily commute in the wind, rain and darkness. You’re going to be tired, cold, wet and hungry and all you’ll want to do is put the kettle on, stick your bike in the shed, jump into a nice hot shower and forget about it.
But if you want your trusty steed to work, day in day out, then you simply have to look after it. If not, it’ll be a ‘rusty’ old steed instead! Your bike may be high-tech, but it doesn’t have the ability to clean itself, and that nasty salt will just love your bike and rot it away.
Cleaning your bike doesn’t need to be a mammoth job, and you can prolong the life of your components with ten simple, easy steps.
Step 1 – Get your bucket situation sorted
Pick out a bucket especially used for cleaning your bike, and label it ‘Bike Cleaning Bucket’. Secondly, prepare the right elements and ingredients for cleaning a bike properly – this saves a lot of time and hassle trying to find a sponge and a cloth and nicking the washing up bowl out of the kitchen, then inevitably being shouted at because ‘It’s not bike cleaning stuff!!’ Let’s just avoid that situation completely. This bike cleaning brush set from Weldtite should do the job nicely, and as for the wash, pick up this Race Pack from Muc-Off and you’ll be covered.
Top tip: make sure you have your hose neatly stored near your bike cleaning bucket, leaving it outside means it could freeze up; then you will be doomed!
Step 2 – Wash your bike!
This is probably the most obvious and simple step of washing your bike: get it wet! A simple hose with a little jet gun on the end is perfect. Once the bulk of the mud, dirt, salt, brake dust is off, it’s time for the next step.
Step 2 – Spray your bike all over with the bike wash and degreaser
Here’s where you’ll use the products we talked about above. Making sure to get the bike wash on the rear mech, rims and chainrings, leave to soak for a minute or two and let it work its magic. In the meantime, get your bucket full of water and soft brush ready; spray a little degreaser onto the soft brush.
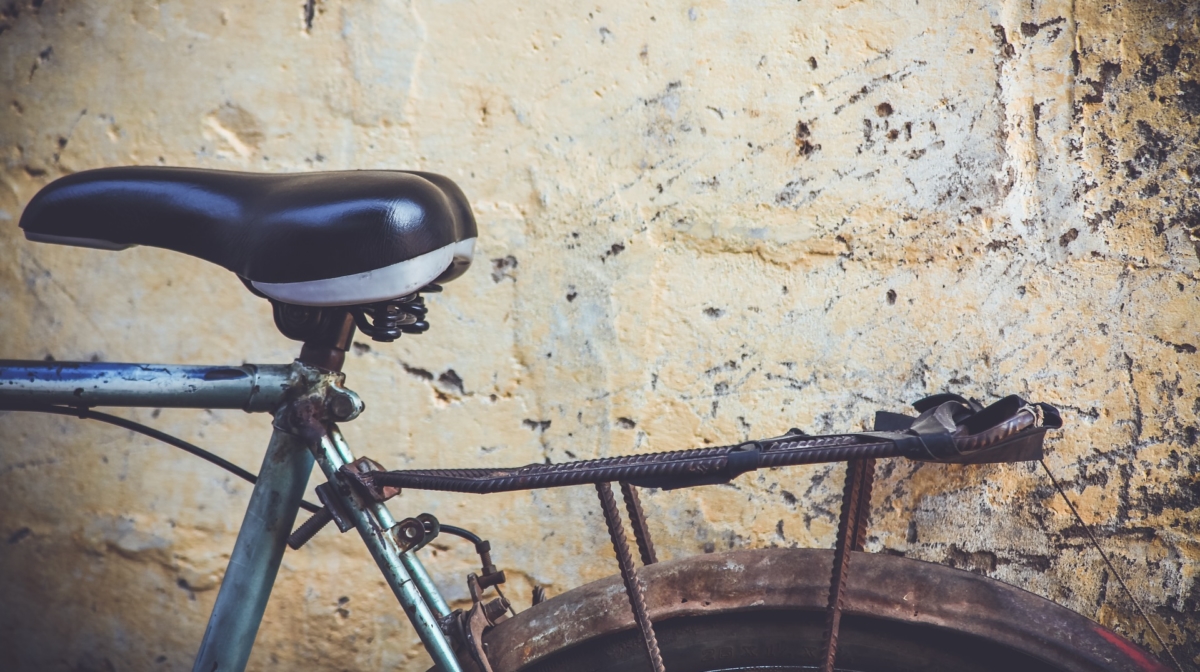
Step 3 – From the top to the bottom
There’s only one way to wash a bike, and that’s top to bottom, just like your car! (Cleanest to dirtiest)
Your soft brush won’t be harsh and won’t scratch your bike, so start working your way over the frame and onto the wheels, making sure you brush all the braking dust and dirt off the rims until they are all shiny again. Doing this prolongs the life of your rims – winter riding is killer on the rims, the dirt and grime rubs the rims away over time and you’ll find you would need to replace them sooner than you would have liked. With that in mind – this is really important.
Step 4 – The drivechain
This is one of the most invaluable pieces of kit you’ll own. Your chain will be clean in seconds with this amazing tool. Simple and easy and works wonders to help keep that chain in tip top condition. Say farewell to black gritty chains for good!
Step 5 – Cleaning the cassette
Now with your cassette cleaning brush you can get the majority of the dirt of by using this brush with a bit of degreaser. If you back pedal the bike whilst brushing of the dirt in between the cogs in a 20 second flash you will have a cassette free from grime.
Use the other end of the brush to get in and around the rear mech, remember the salt hits the underside of the mech all ride long. A quick flick around will ensure this is moving freely for the next ride and stops it from sizing up and saves a lot of grief in the long run.
Step 6 – Ring a ding-ding!
A quick rub down of the chain rings to make sure there is not excess grease build up and you’re almost done. ..
Step 7 – Rinse well
Now to reveal all the hard work, wash the bike off with clean water and a give it a quick scan over to make sure you haven’t missed any bits. You can almost smell that cup of tea and your hot shower is getting closer!
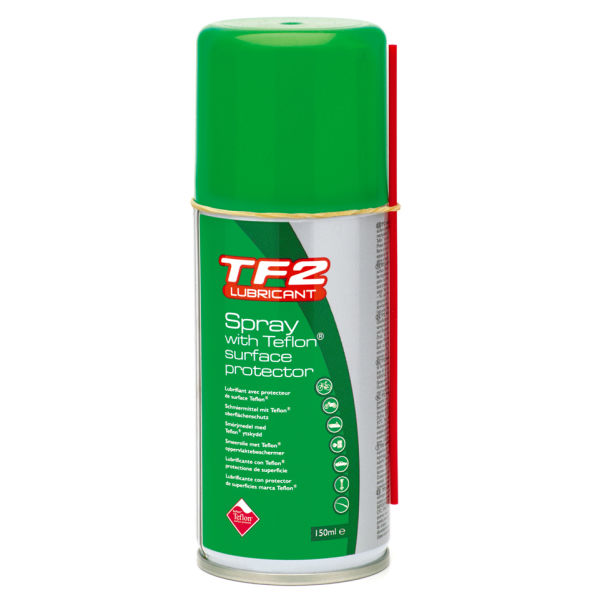
Step 8 – Protect and seal
By spraying your bike with a surface protector, such as this TF2 Aerosol Spray from Weldtite, you’ll help to add a barrier of protection over your beloved two-wheeler!
And finally, step 9 – Lubricate
Apply a little chain lubrication, being careful to wipe down after to remove any excess. When all is done you can put your bike to bed and that’s the job done.
P.s. – if you’re reading this and thinking it’s a little too late, a new chain, cassette and some cleaning products may be just what you need!