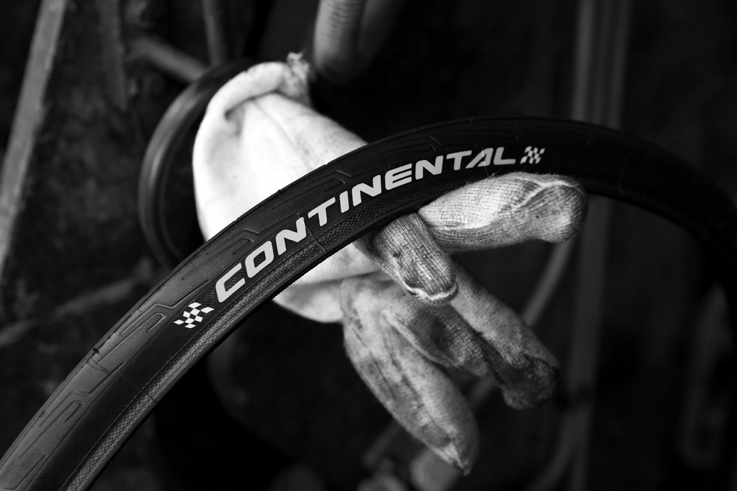
Tubular tyres can provide speed advantages and marginal gains with their streamlined profile and solid build, but a lot of doubt about their reputation as a long term training friend and reliable piece of equipment exists. We’ve teamed up with Continental – using their in-depth videos – to give you a handy guide on how to fit a tubular tyre. Hopefully this guide will introduce you to the ins and outs of changing over a tubular in the easiest possible way.
This helpful video from Continental clearly shows how you can set up your tubular tyres and ride safely and efficiently, whilst getting the most out of your tubulars for speed and handling advantages on the road or track. It’s a handy visual guide to help you fit your tubulars quickly and efficiently:
Just in case you need it, or you can’t get to the video right now, we thought we’d do our bit and put together a written guide for you to work through and check off, leaving you with no doubts about the security and performance of your bike.
Breakdown of How to Fit a Tubular Tyre:
-
Pump and Prepare the Tyre
Firstly remove the protective cap from the valve and be sure to unscrew the valve. Once the valve is unscrewed safely, be sure to press it so it opens. Note, if your rim has a high profile, you can mount a valve extension, such as this one from Continental. As always when buying bike parts, be sure to check that the extender fits the valve before you buy. Pump up the tyre so that it starts to take shape before you go any further – it is better to do this with tubular tyres as you’ll want a solid, sturdy tyre to work with.
-
Let the Tyre take the Shape and Form of the Rim
With tubular tyres. if you have the time, it is often a good idea to let the tyre sit on the rim for a few days prior to gluing, which will allow the tyre to form and ‘settle’ into its final shape.
Placing the valve in the valve hole in the rim, press the tyre into the areas either side of the hole to get your starting point. Pull the tyre uniformly into the tyre bed, and do this on both sides. This process can sometimes be a challenging task, and if any force is required, please take extra caution to never stretch the tyre, as this will effect both the fit and performance as well as potentially voiding your warranty. If needed, you can use your hips to control and guide the tyre onto the rim properly.
Finally, to complete the initial phases of preparation and forming, check and adjust the tyre and rim before pumping up again. Now you can let the tyre sit on the rim for a few days to form and take the correct shape.
-
Prepare to Mount the Tyre
Using a truing stand to mount the tyre will ultimately be more precise and accurate than without, so if you have access to one, it is definitely recommended. If you are mounting on a used rim, take time to wipe down the surface to clear any loose debris and dirt that may cause unevenness. If it is a new rim you’re using, you can sand down the rim very slightly, this will help with clearing and de-burring the valve area.
Once your rim is prepared and ready you can apply your cement, and using a suitable brush, spread the cement evenly and thinly. Allow this coat to air-dry and then apply a second and – if needed – a third coat, as multiple coats will help to secure the bond. Don’t forget to let coats dry in-between applications. Your rim is now prepared for mounting, and you can add the cement to your tyre and leave both to cure for up to 24 hours.
Add a final coat before mounting. Note: For most riders, you’ll want to leave a small section – about 5cm – without glue for easy removal and access in case of a puncture. For racers with access to support cars and spare wheels, glue all the way round for added security.
-
Mount the Tyre
For the mounting process, you should start by first inserting the valve into the hole in the wheel rim and press down firmly. Using both hands, apply the tyre sections inch by inch, making sure to keep the tyre sideways and away from the wheel. Keep checking and adjusting the wheel as the tyre may not be a hundred percent straight at first – if you’d like to check further, you can use a truing stand to inspect the alignment properly. Keep an eye out for any radial run-out and that the wheel runs true. Once you’re happy with this, inflate the tyre to its recommended pressure and leave the tubular set-up to dry-out and settle over a 24 hour period, and you’re good to go.
Continental are a leading manufacturer of cycling tyres, and products such as their GP4000s are extremely popular with riders of all abilities and levels. You can click here for more information on the GP4000s, or here to buy. If you require the tubular version, you can find it here.

